 English
 български
 Deutsch
 Español
 Polski
 Română
 Türkçe
 Français
 Italiano
 Português

How to Add an AI Chatbot to Your Website in 15 Minutes (No Coding)
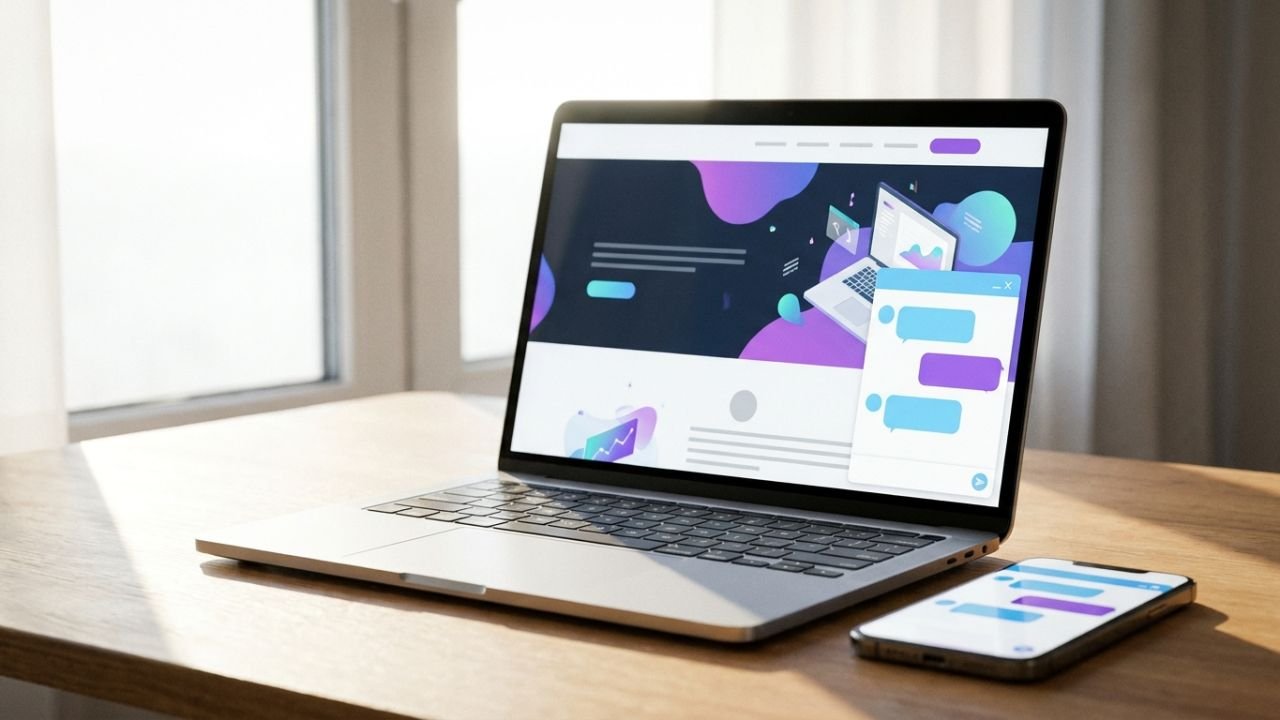
Your website gets visitors at midnight, on weekends and while you're busy with other customers. Most of them have a quick question: How much is it? Do you deliver to my city? Are you open on Sunday? If nobody answers, many of them simply leave.
An AI chatbot answers those questions instantly, in the visitor's own language, and collects their contact details so you can follow up. In this step-by-step guide you will add one to your website in about 15 minutes, without writing a single line of code.
Disclosure: some links are affiliate links. If you sign up through them, aishopit.com may earn a small commission at no extra cost to you.
Why add an AI chatbot to your website?
- Instant answers 24/7, even when you are asleep or on holiday
- More leads: the bot can collect name, email and phone number
- Fewer repetitive emails and calls for you and your team
- Every language: modern AI chatbots reply in the visitor's language
- Better experience: visitors get help without searching through pages
What you need
- Your website (WordPress, Webflow, Shopify or any site where you can paste a small code snippet)
- Your business information: FAQs, prices, policies, opening hours, product or service descriptions (PDF, Word or text files)
- A free Chatling account (no credit card needed)
Step 1: Collect the questions your customers ask
Spend five minutes listing the 10–20 questions you hear most often. Check your emails, WhatsApp chats and reviews. Then write a short, clear answer for each. This one document will make your chatbot far more useful than any generic setup.
Step 2: Create your chatbot
- Sign up for Chatling and create a new chatbot.
- Give it a name (for example "Anna from YourShop") and a friendly welcome message.
- Choose the tone: friendly, professional or short and to the point.
Step 3: Train it on your content
Upload your FAQ document and any useful files such as price lists, policies or brochures. Chatling accepts PDF, DOCX and TXT files. The AI reads them and uses them to answer visitors, so the more accurate your documents, the better the answers.
Tip: include things like delivery areas, payment methods and how to contact a human. These are the questions people ask most.
Step 4: Set up lead capture
Turn on the built-in form so the bot can ask for a name, email and phone number, for example when someone wants a quote or when the bot doesn't know the answer. If you use a CRM such as HubSpot or Salesforce, you can send these leads there automatically with Zapier.
Step 5: Make it look like your brand
Adjust the chat window so it matches your website, add your welcome message and choose when it appears. A small, friendly chat bubble in the corner works best; avoid pop-ups that cover the whole page.
Step 6: Test it like a customer
Before going live, ask your chatbot at least 20 real questions, including tricky ones. Try different languages too: Chatling detects the visitor's language automatically and supports 85+ languages. If an answer is wrong or missing, add the information to your documents and test again.
Step 7: Add it to your website
- Copy the embed code snippet from your Chatling dashboard.
- WordPress: paste it into your theme's footer or with a "header and footer scripts" plugin.
- Webflow / Shopify / other builders: paste it into the custom code area before the closing body tag.
- Refresh your website and check that the chat bubble appears on desktop and mobile.
Step 8 (optional): Add WhatsApp
Many customers prefer WhatsApp. Chatling integrates with the WhatsApp Business API, so the same AI assistant can answer there too.
Step 9: Improve it every week
Read the chat history once a week. Look for questions the bot couldn't answer well, then update your documents. After a few weeks, your chatbot will handle most of the common questions on its own.
Common mistakes to avoid
- Uploading outdated prices or policies
- No way for visitors to reach a human when they need one
- A pop-up chatbot that blocks the page on mobile
- Never reading the conversations after launch
Quick checklist
- List your top 10–20 customer questions with answers
- Create a free Chatling chatbot
- Upload your FAQs, prices and policies
- Turn on lead capture
- Match the design to your brand
- Test 20 real questions in different languages
- Paste the snippet on your website
- Review the chats every week
Frequently asked questions
Do I need coding skills to add an AI chatbot?
No. Tools like Chatling are no-code. You only copy and paste a small snippet into your website.
How much does it cost?
You can start with Chatling's free plan, which lets you build chatbots with no credit card. Paid plans add more usage and features.
Will the chatbot give wrong answers?
It answers from the information you give it. Keep your documents accurate, test before launching and review the chats regularly.
Can it answer in other languages?
Yes. Chatling supports more than 85 languages and replies in the visitor's language automatically.
Start today
Fifteen minutes today can save you hours of answering the same questions every week, and catch the leads you're currently missing.
Build your free AI chatbot with Chatling →
Looking for more AI assistants? Browse the AI Chatbots & Assistants category on aishopit.com.
Newsletter
Join our subscribers list to get the latest news, updates and special offers directly in your inbox